
Hello Gang,
Just found this forum and thought to register.
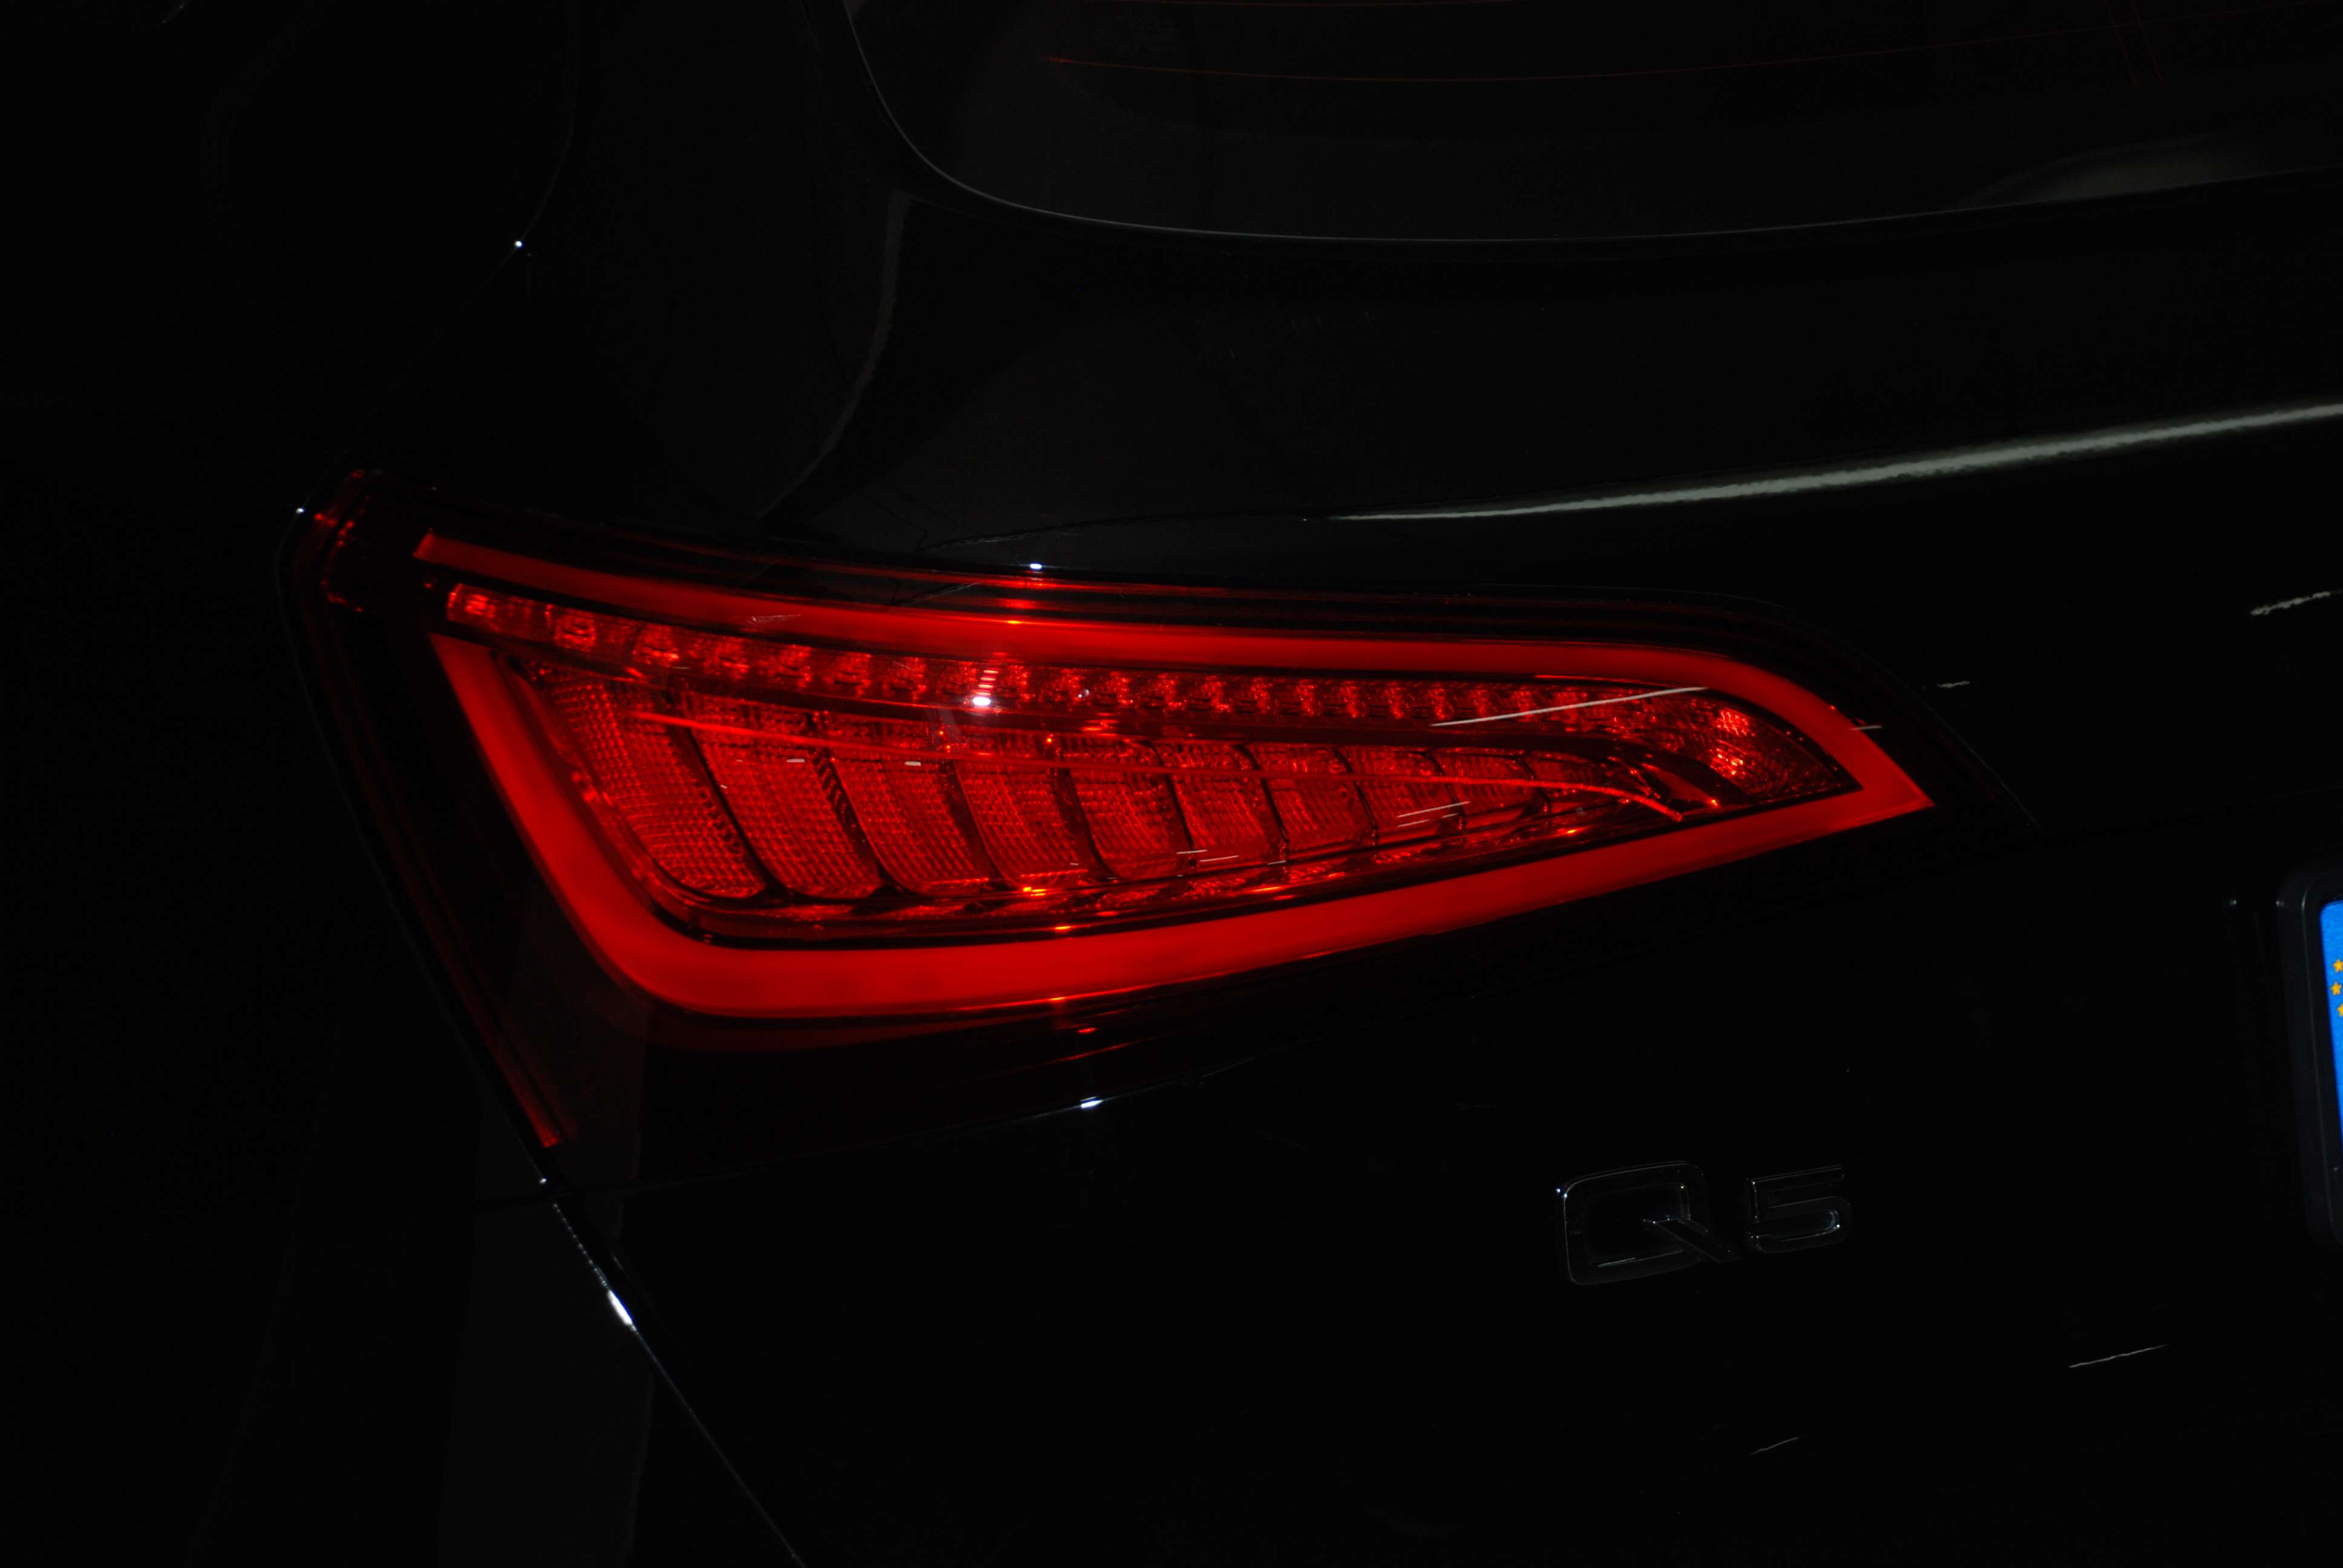
There has been a lot of talk about swapping the new facelifted 2013 Q5 headlights to a 2009-2012 Q5s.
The consensus was, it was not possible due to design changes. Rears yes, fronts - no.
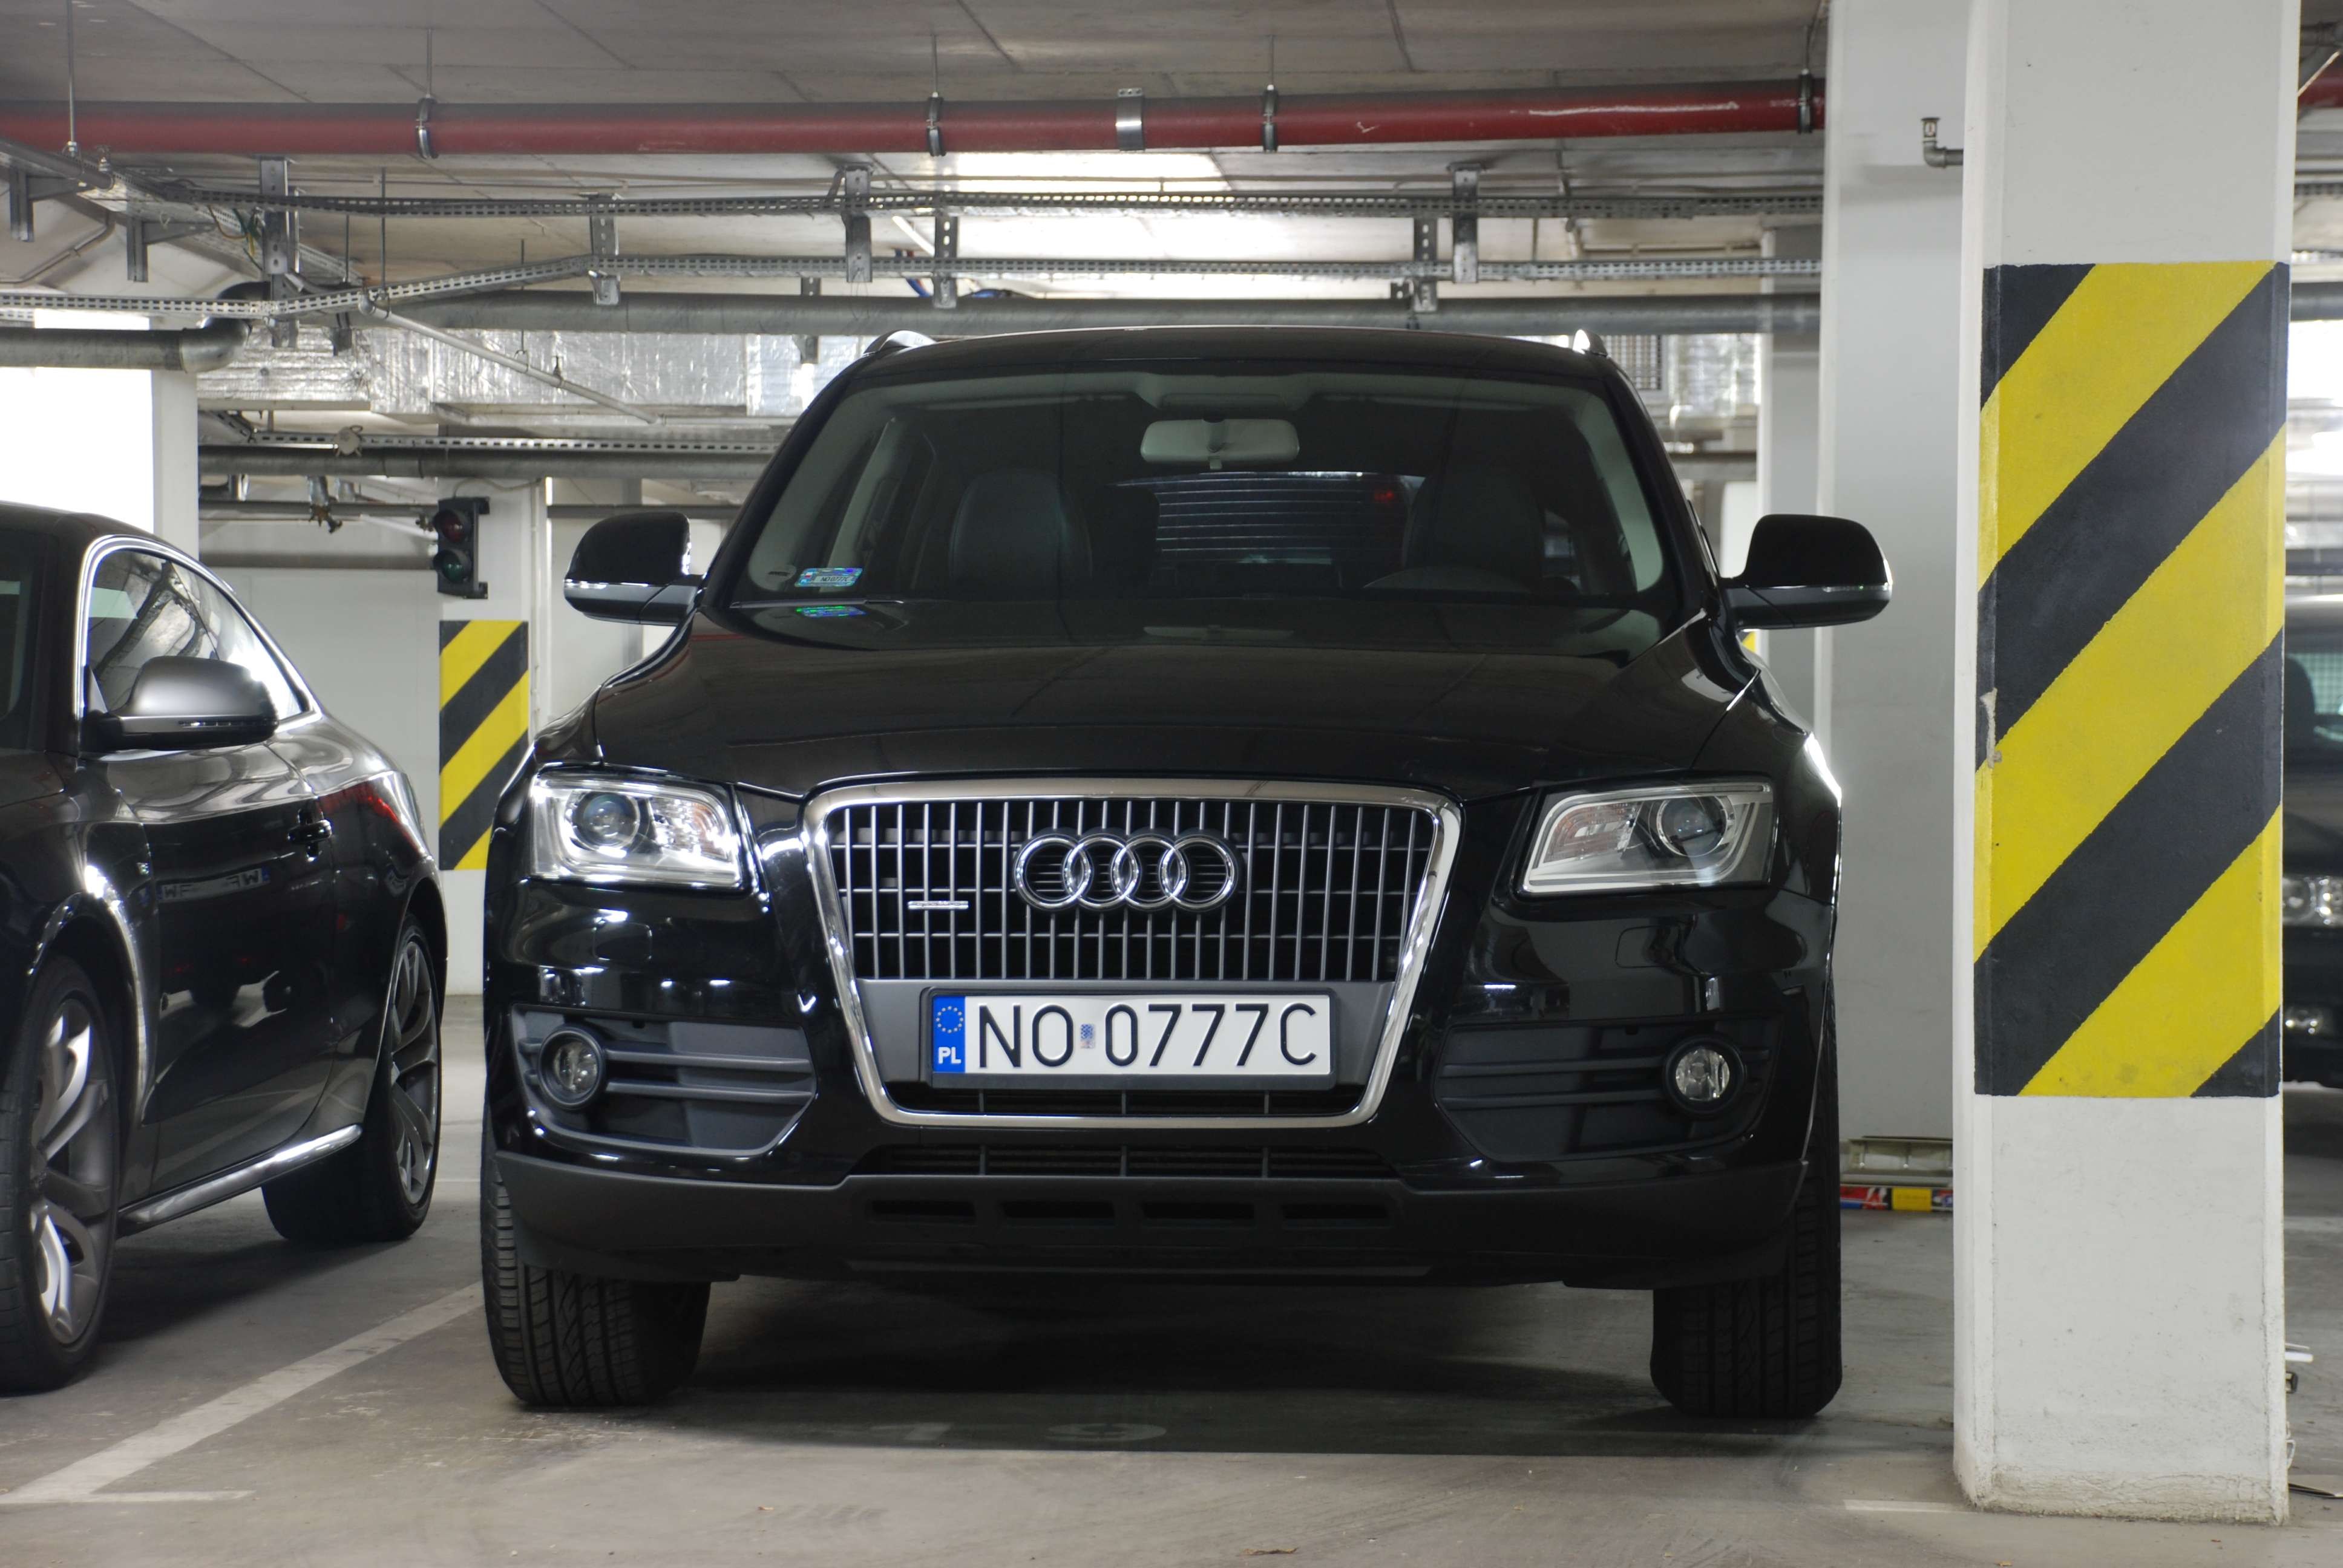
Well, I'm glad to report that I have successfully test fitted one FL headlight today. I was lucky, as nearby body shop just took a 2013 Q5 for headlight / front bumper replacement after a small accident, so we just borrowed one of the headlamps.
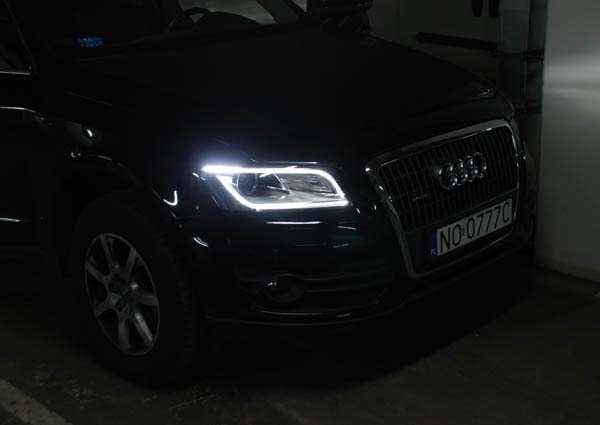
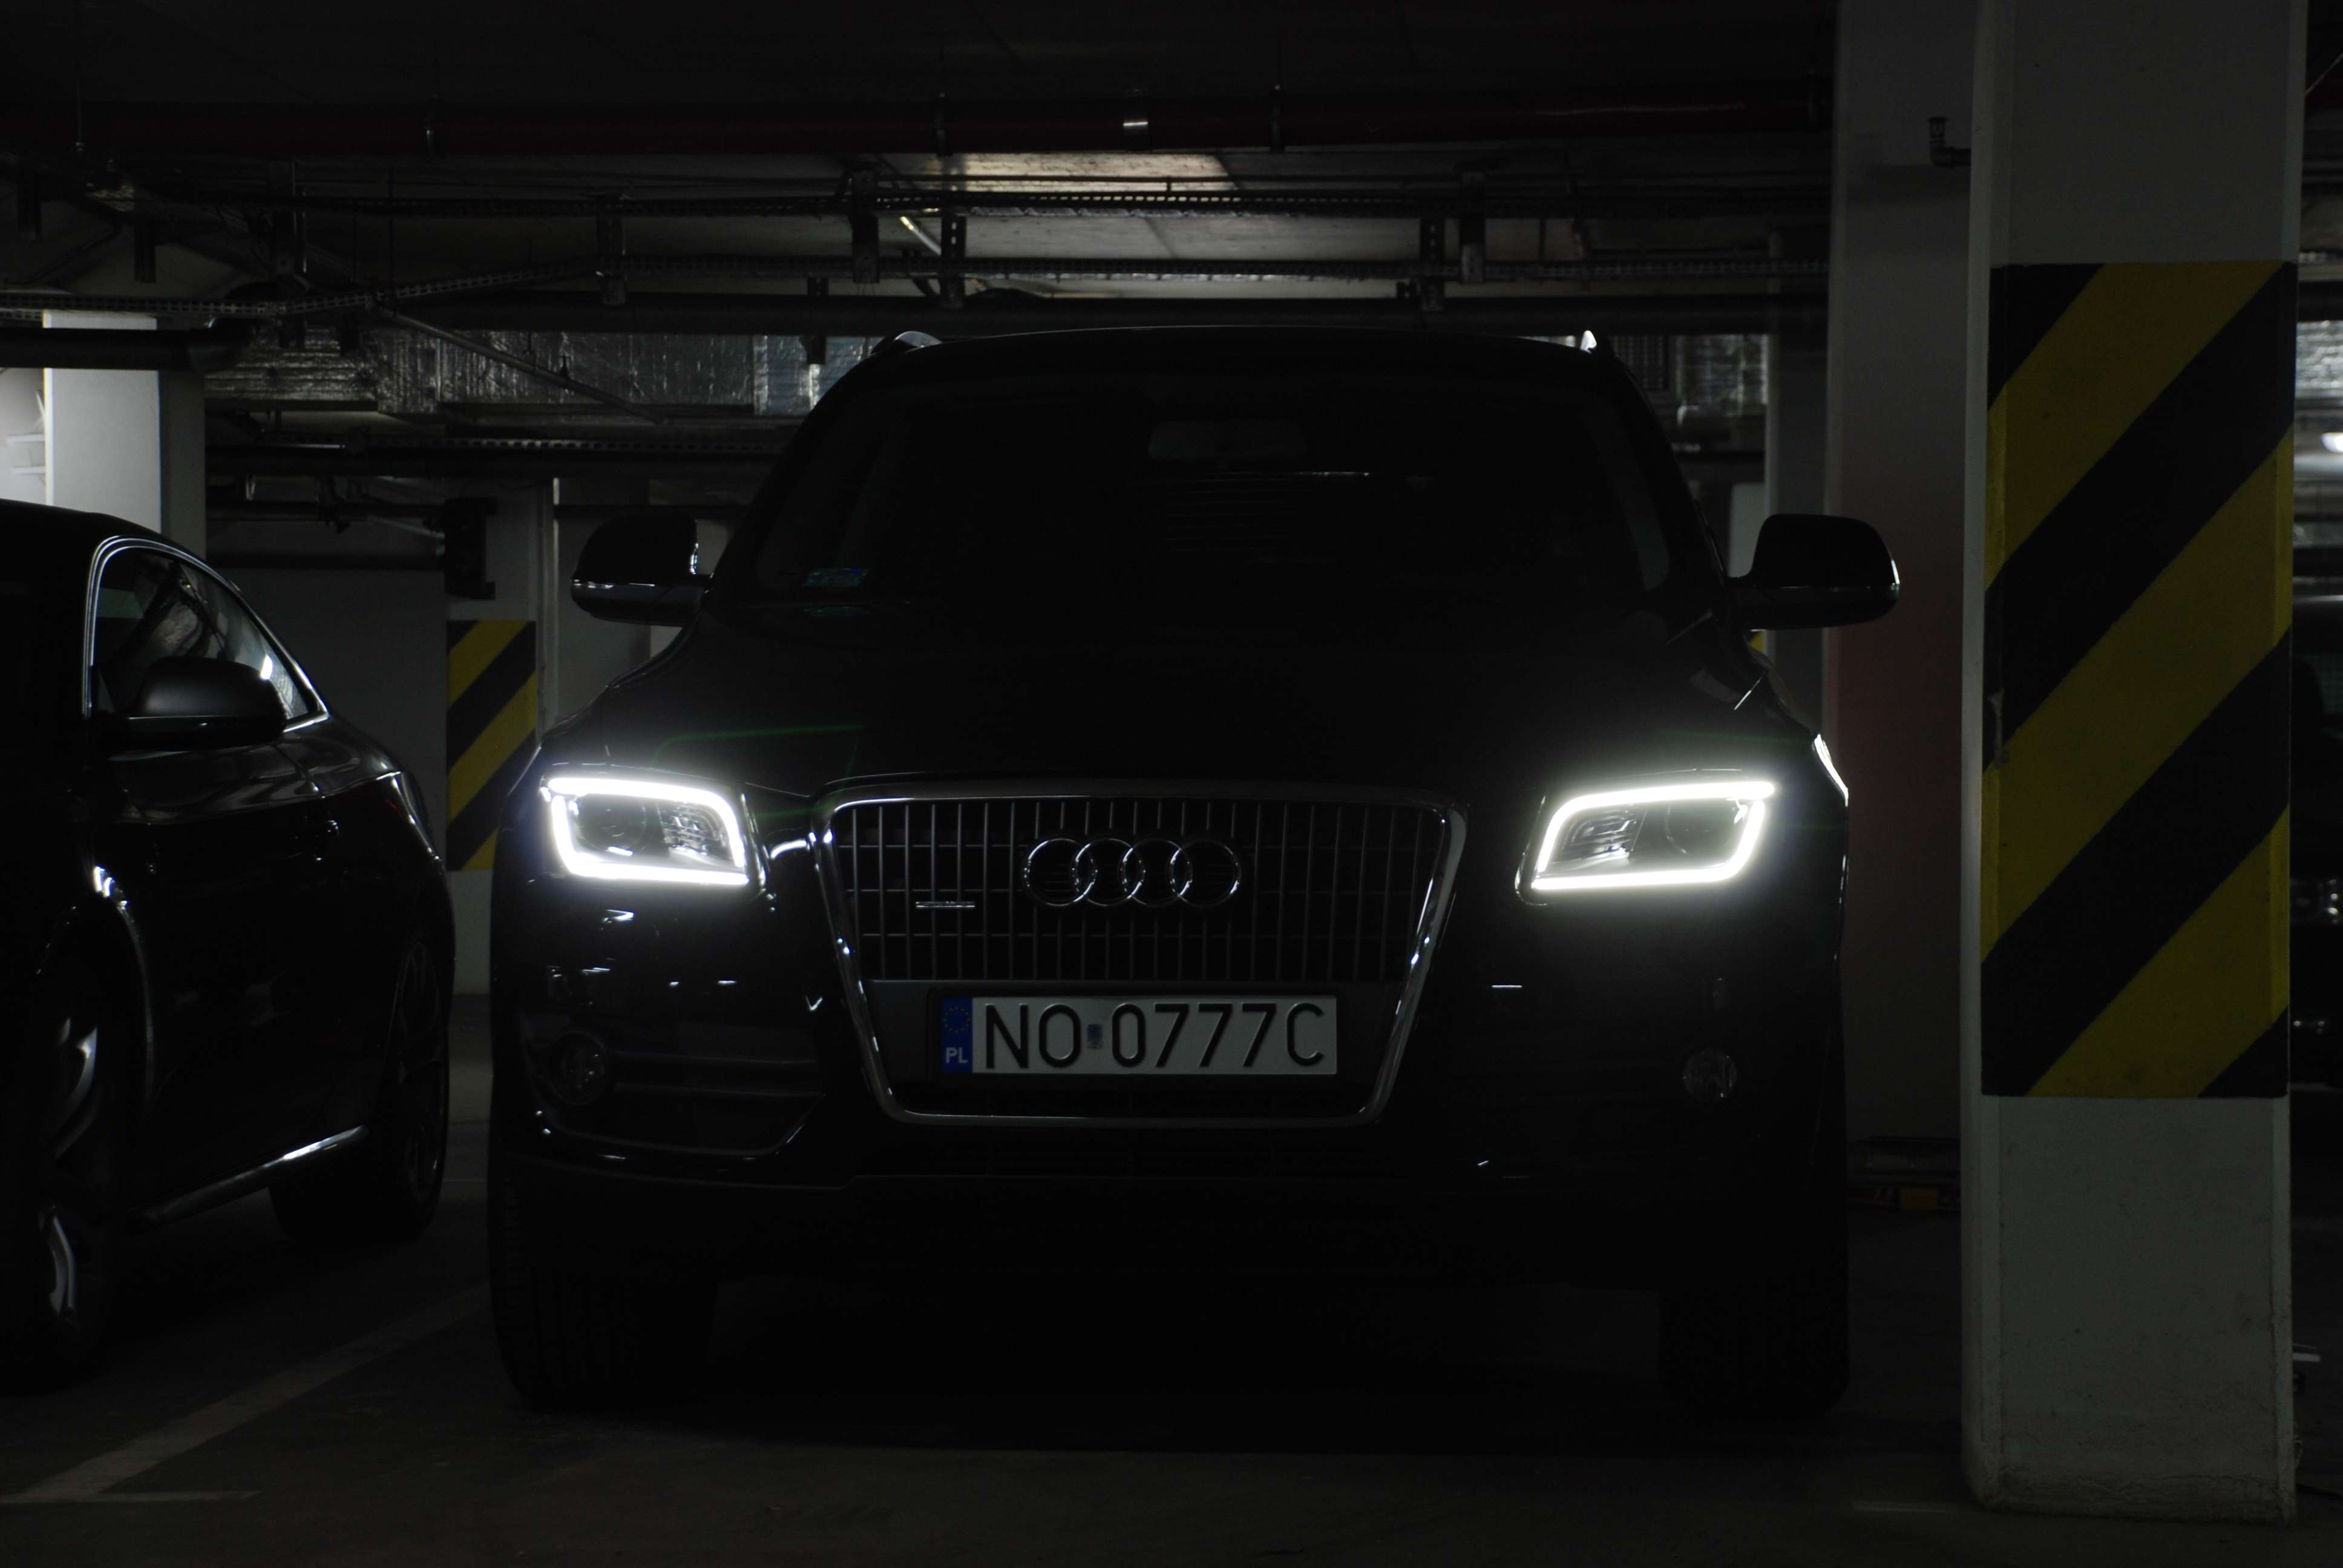
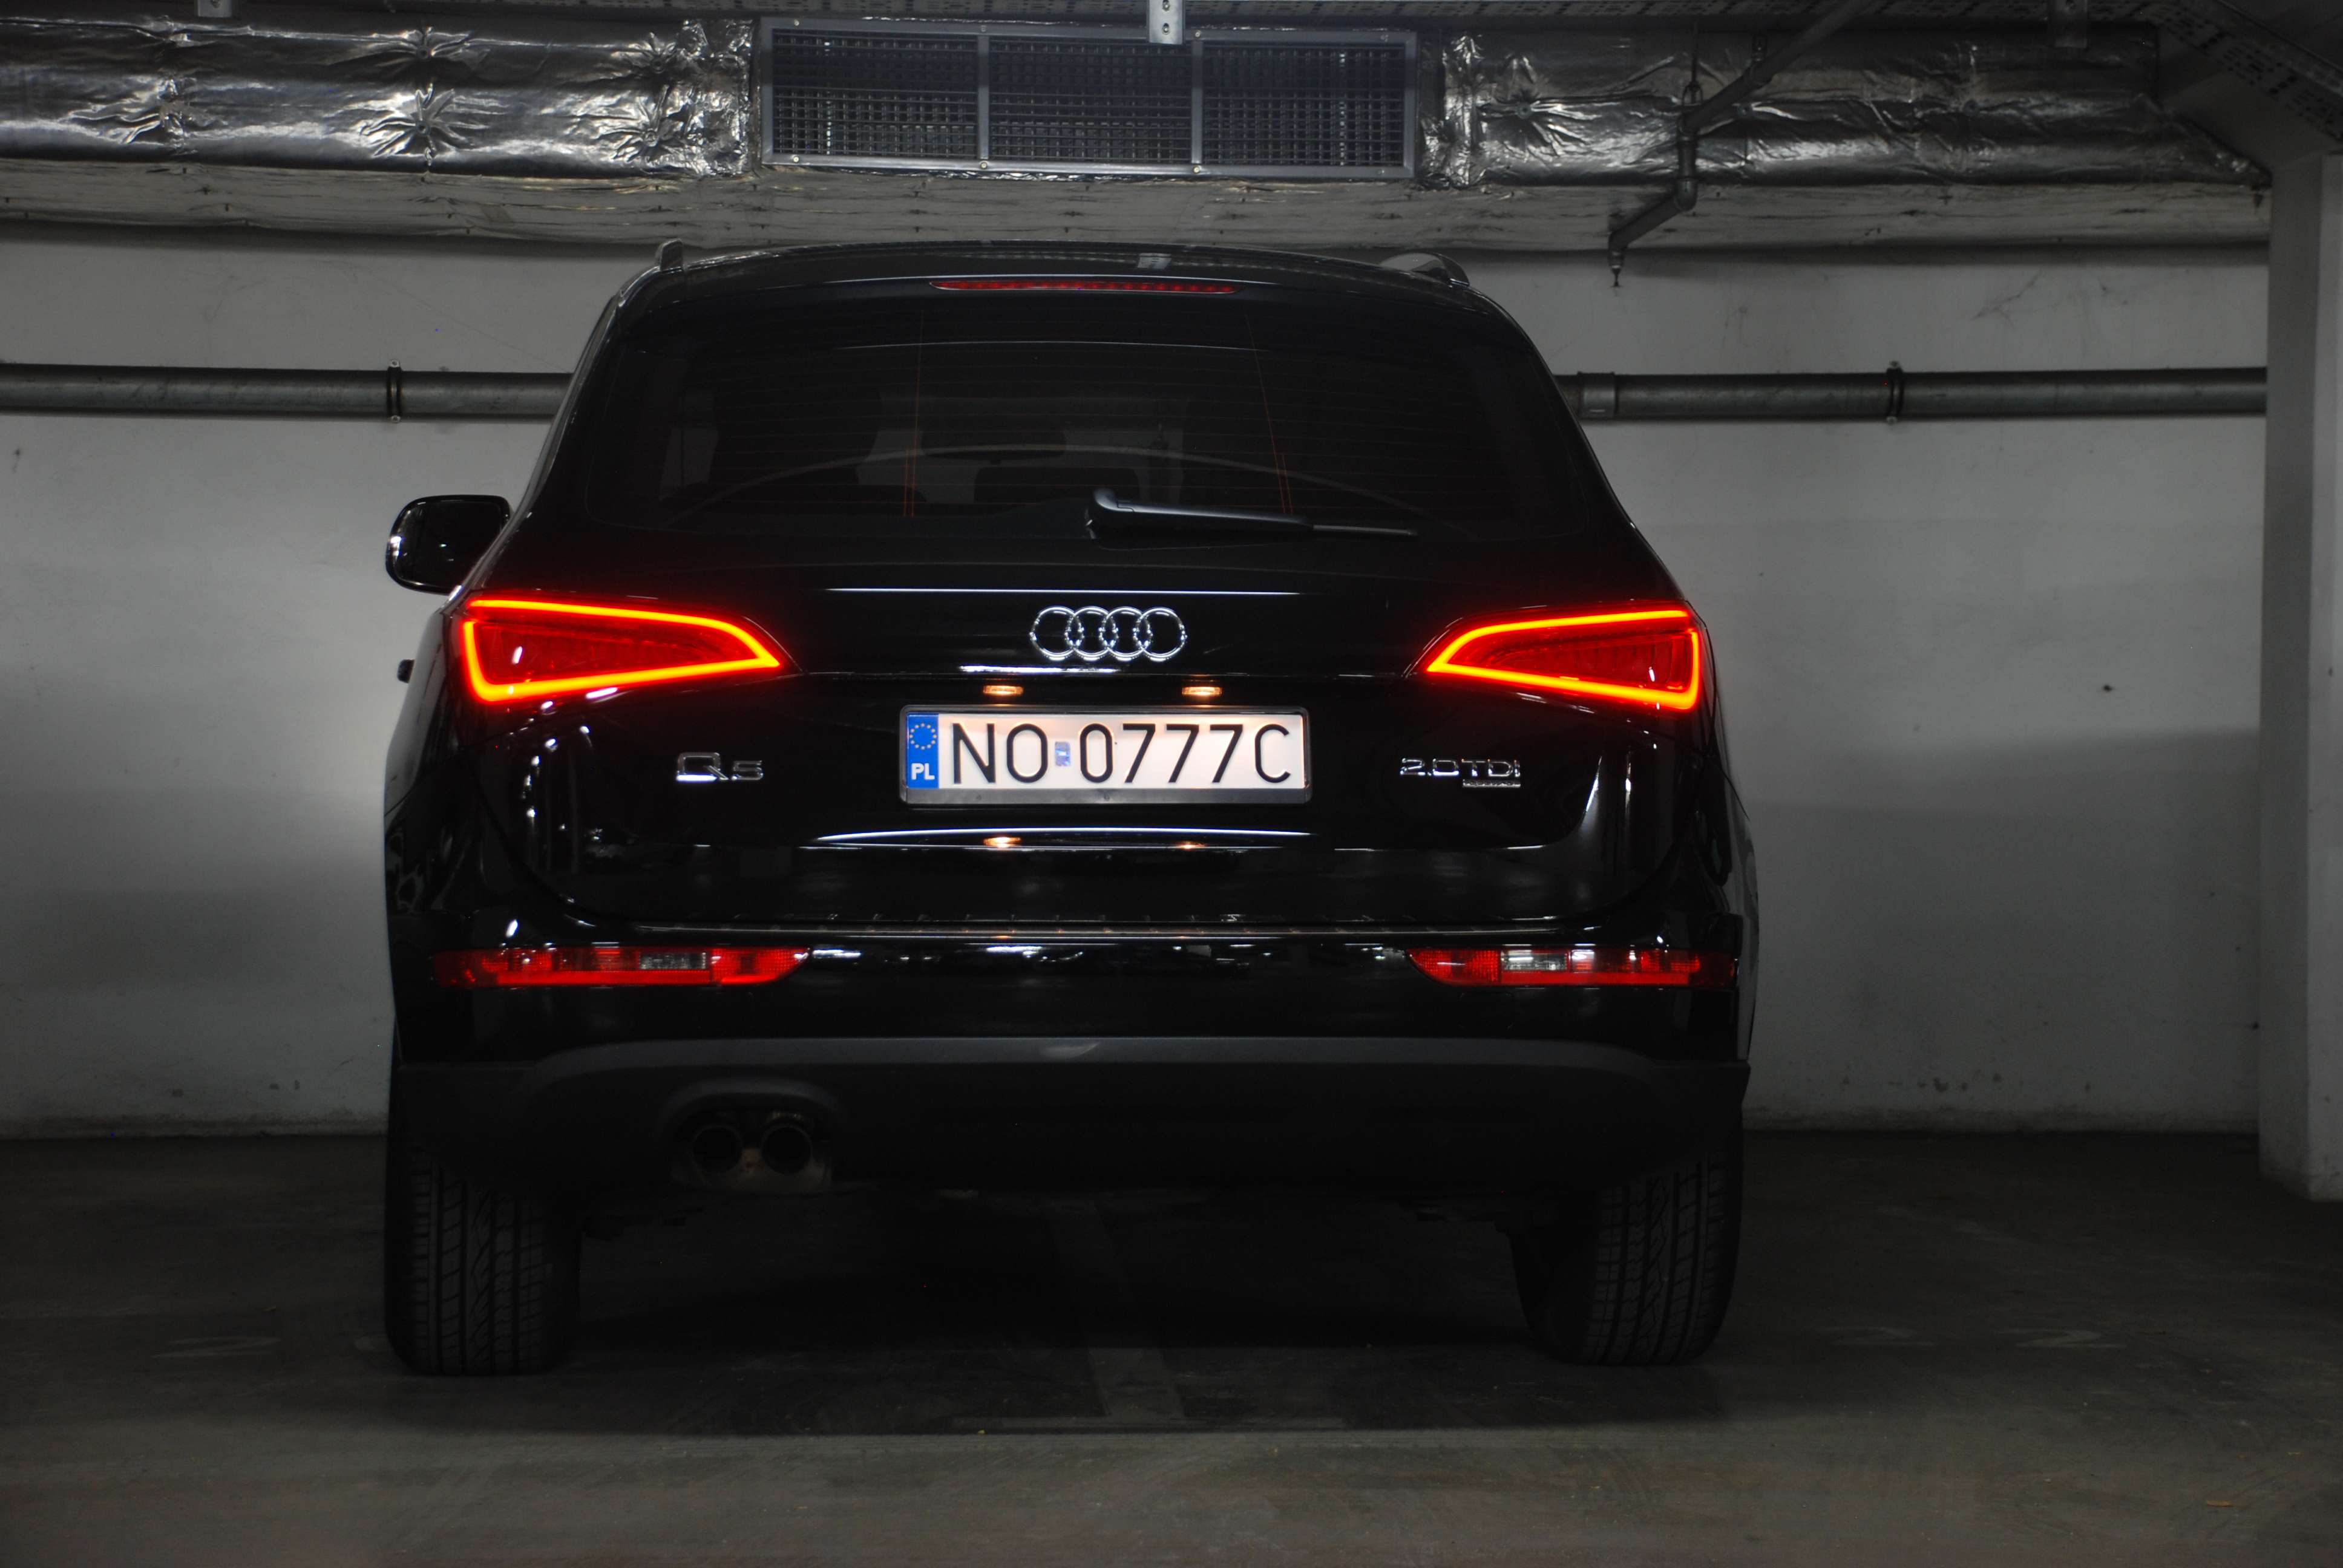
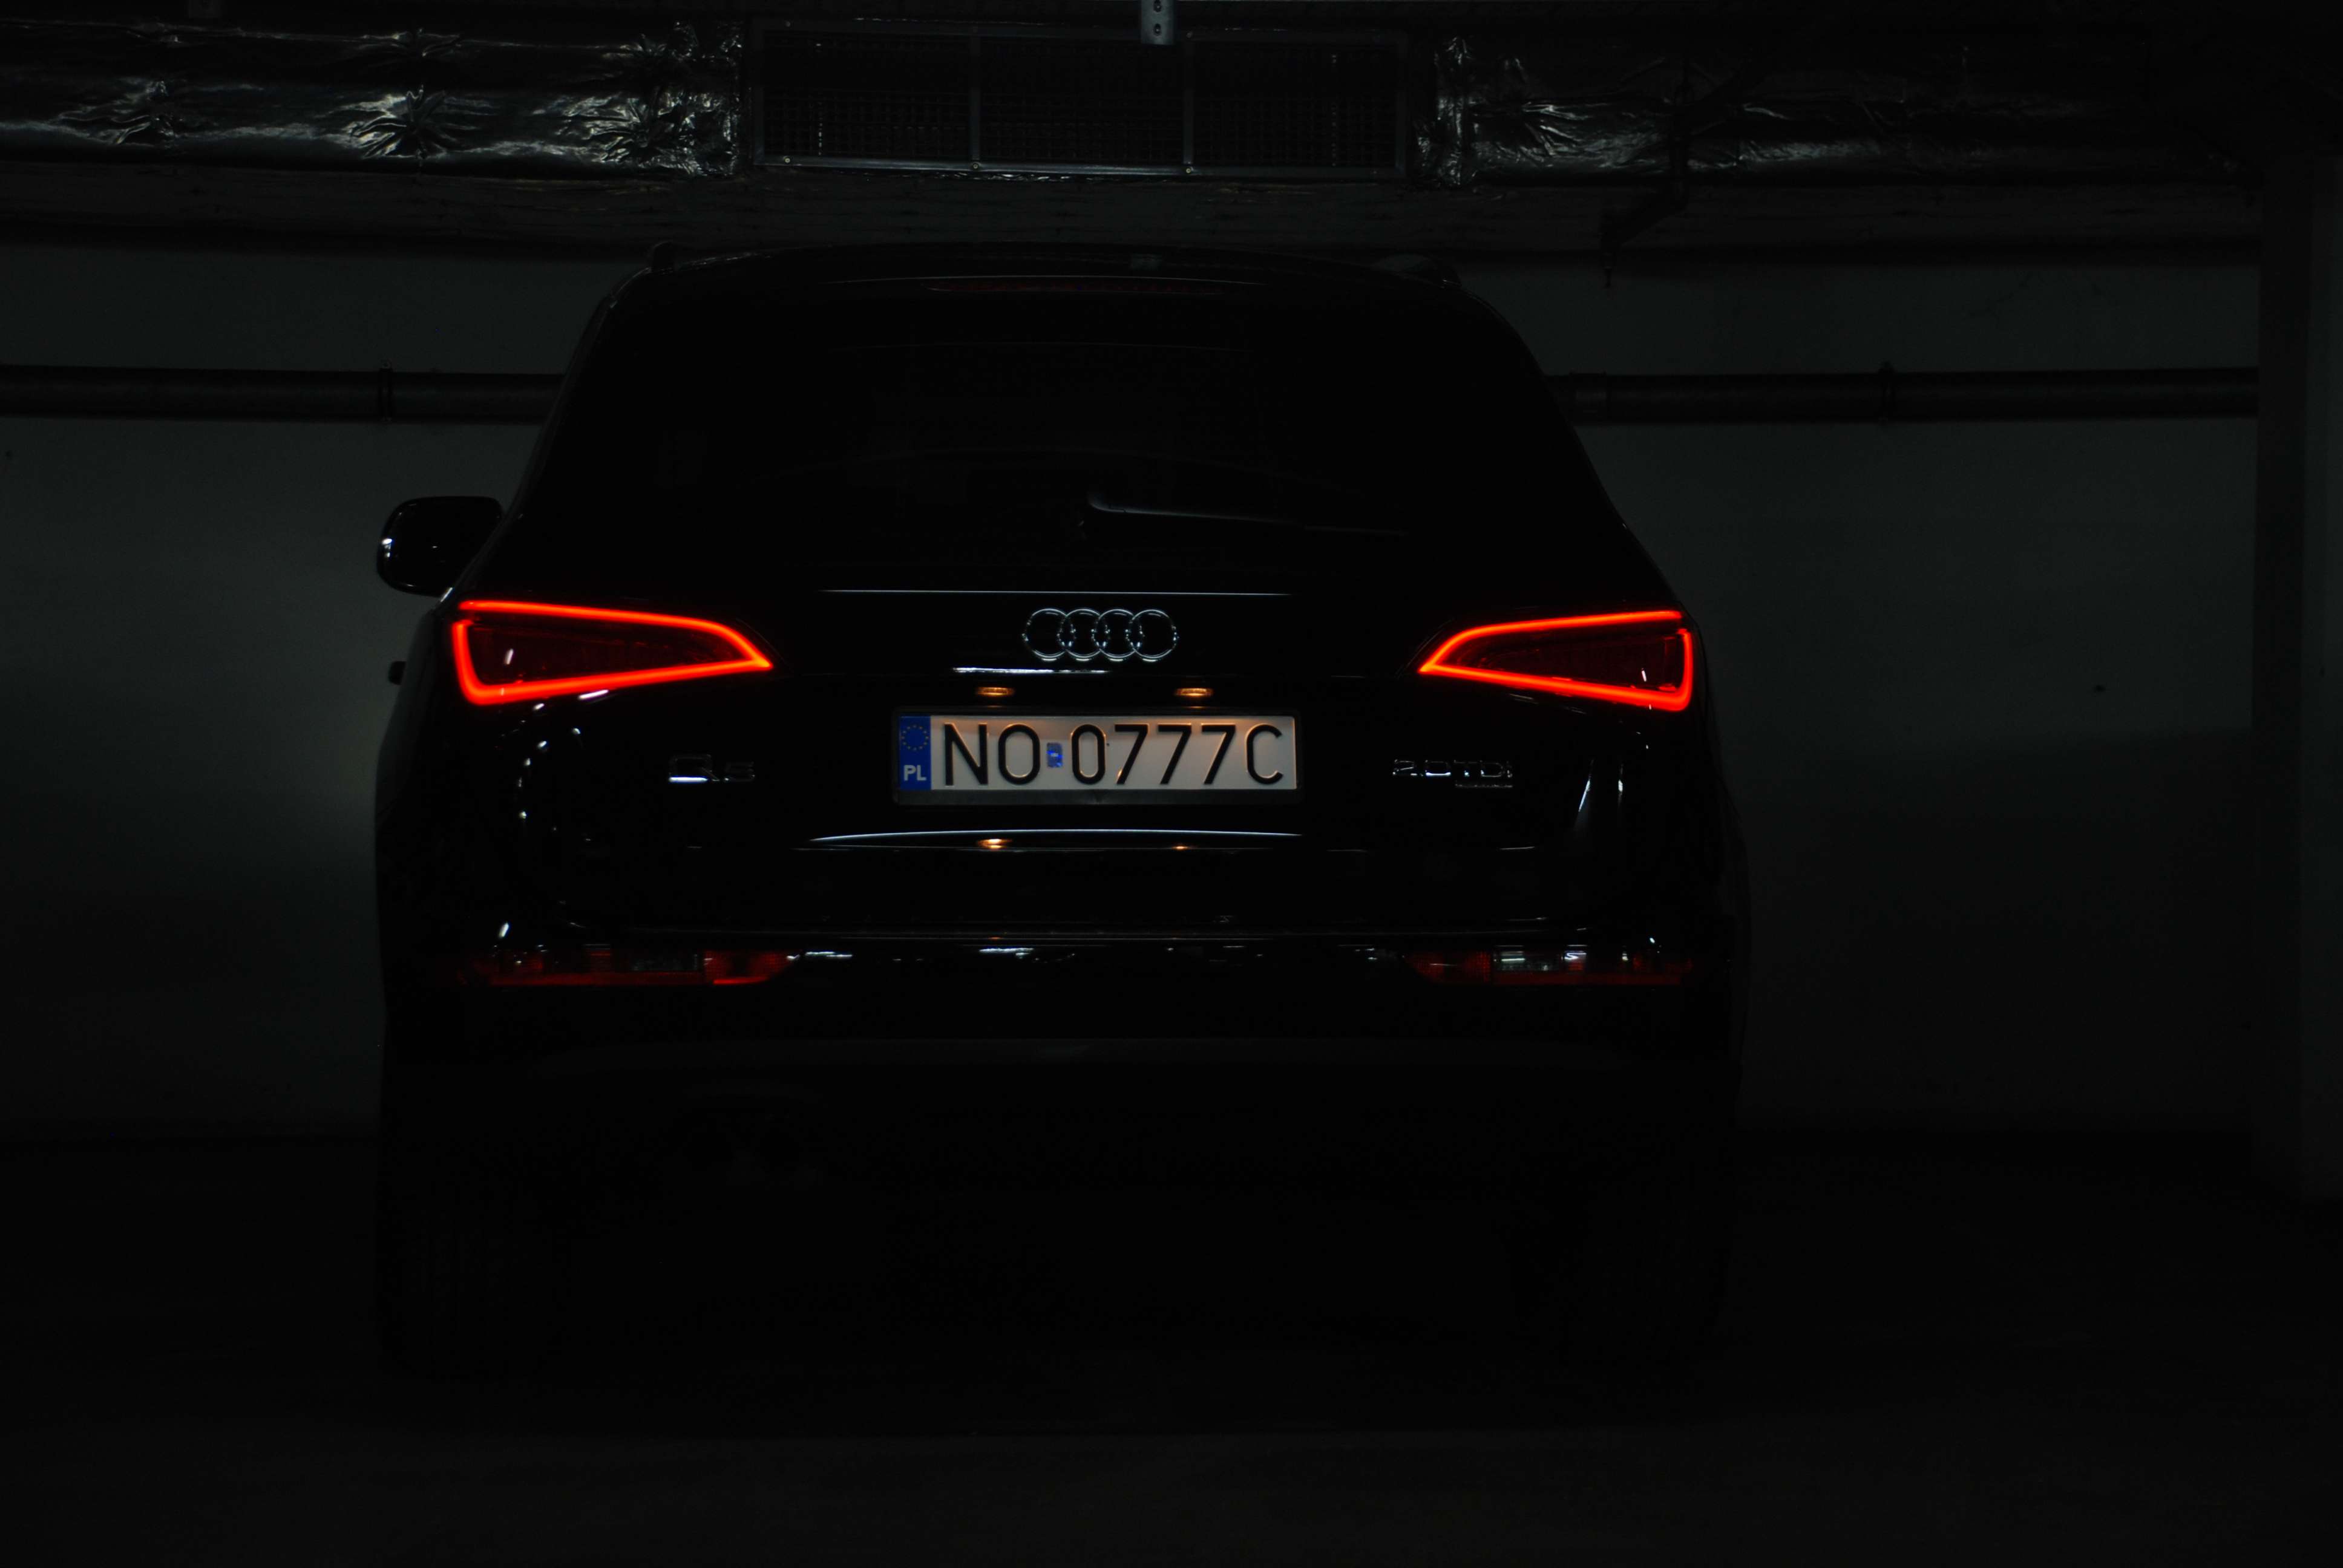
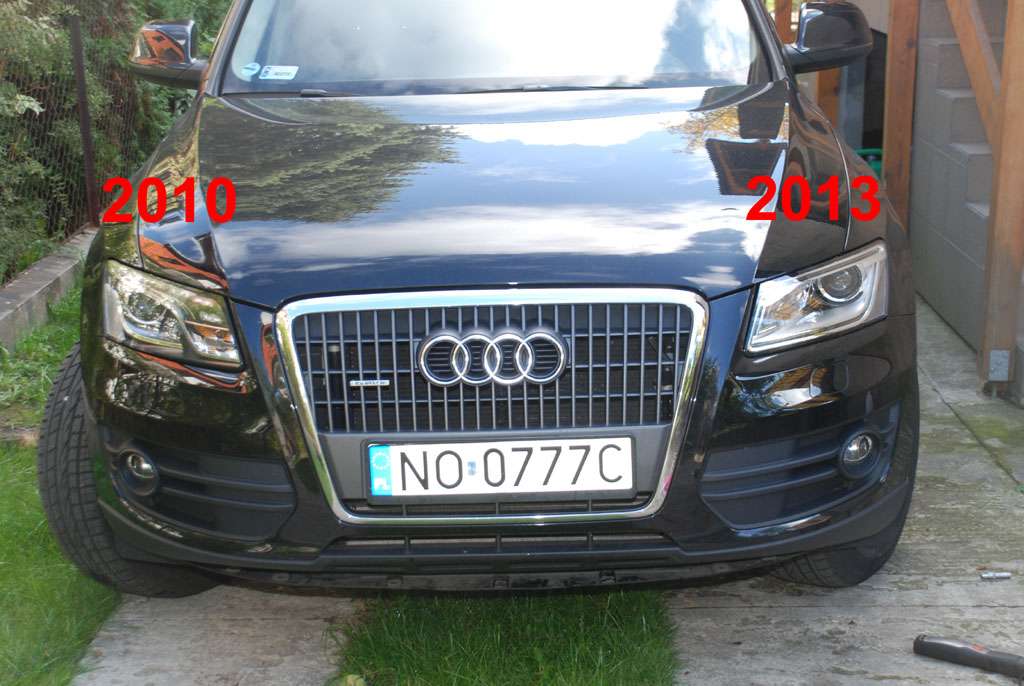
2010 headlight on the left and 2013 FL headlight on the right:
![Image]()
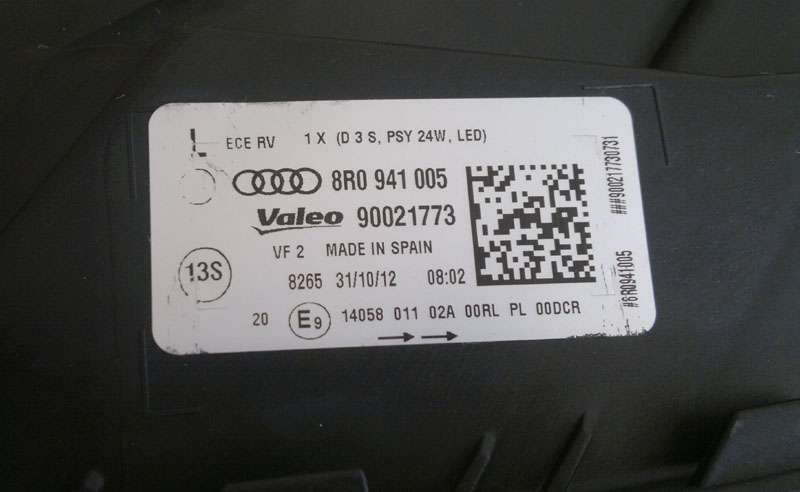
Audi part # for the LEFT 2013 FL headlight:
![Image]()
The headlight fits, BUT:
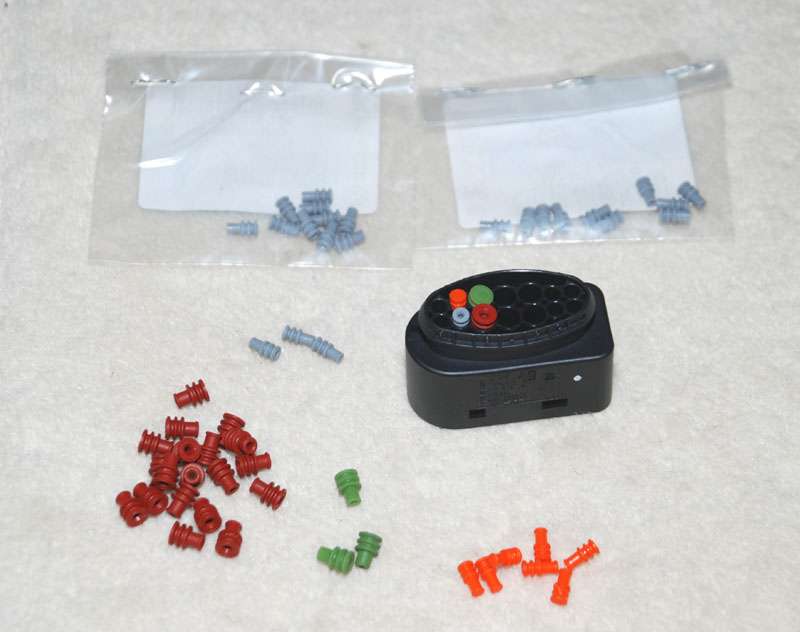
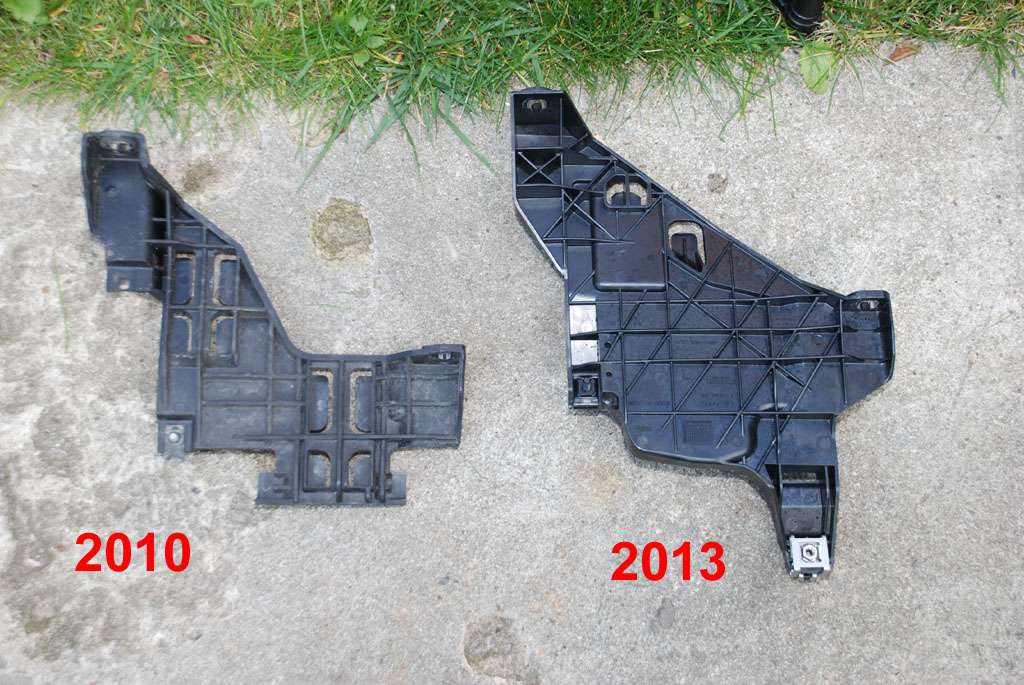
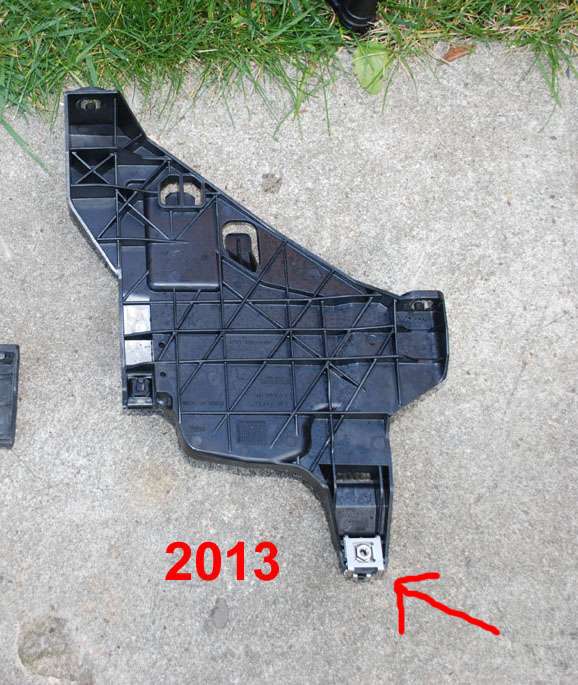
1. you also need to buy a headlight support bracket, as it is completely different:
![Image]()
Audi part # is 8R0 941 453A - this is for the LEFT headlight only:
![Image]()
The new support has one extra mounting hole:
![Image]()
I belive this is Audi solution to the known Q5 headlight jitter problem (when you hit the pothole, you could see the headlights jittering briefly). I belive the extra mounting point is to prevent that from happening, as it supports the weight of the headlight housing from the back. There is also an extra part that connects this support to the car body - I belive it will be retrofitable as well. I will check that tomorrow and will post some more images and hopefully part #s.
Just found this forum and thought to register.
There has been a lot of talk about swapping the new facelifted 2013 Q5 headlights to a 2009-2012 Q5s.
The consensus was, it was not possible due to design changes. Rears yes, fronts - no.
Well, I'm glad to report that I have successfully test fitted one FL headlight today. I was lucky, as nearby body shop just took a 2013 Q5 for headlight / front bumper replacement after a small accident, so we just borrowed one of the headlamps.
2010 headlight on the left and 2013 FL headlight on the right:
Audi part # for the LEFT 2013 FL headlight:
The headlight fits, BUT:
1. you also need to buy a headlight support bracket, as it is completely different:
Audi part # is 8R0 941 453A - this is for the LEFT headlight only:
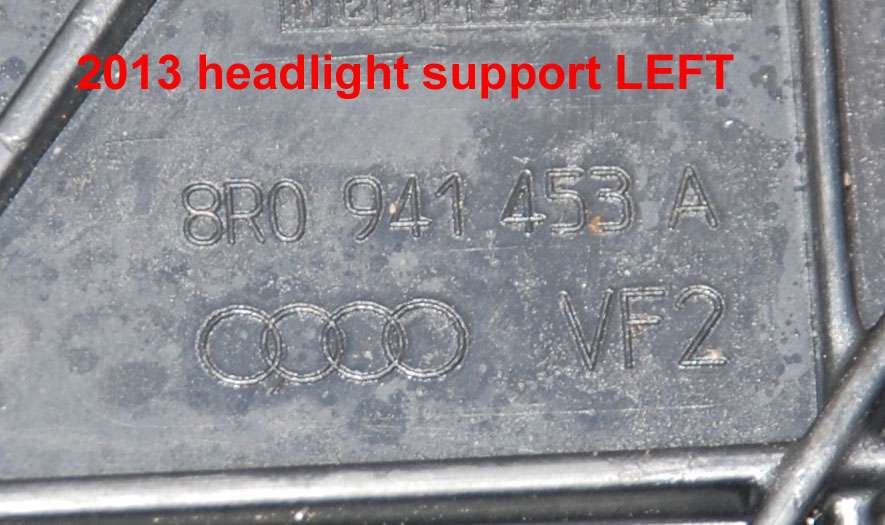
The new support has one extra mounting hole:
I belive this is Audi solution to the known Q5 headlight jitter problem (when you hit the pothole, you could see the headlights jittering briefly). I belive the extra mounting point is to prevent that from happening, as it supports the weight of the headlight housing from the back. There is also an extra part that connects this support to the car body - I belive it will be retrofitable as well. I will check that tomorrow and will post some more images and hopefully part #s.